
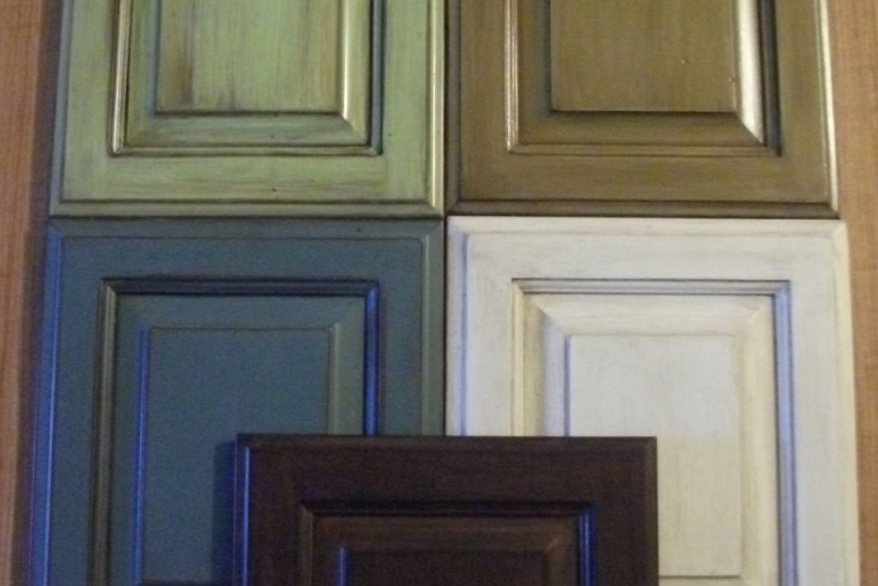
If you are a Do-it-yourself kind of person, here are some things to consider before remodeling your kitchen and painting cabinets; suggests, step-by-step painting process, and materials needed for the job. Should You Replace or Re-do Your Cabinets? Are you tired of looking at the same drab cabinets every time you walk into your kitchen? If so, then it is time for a change. But…
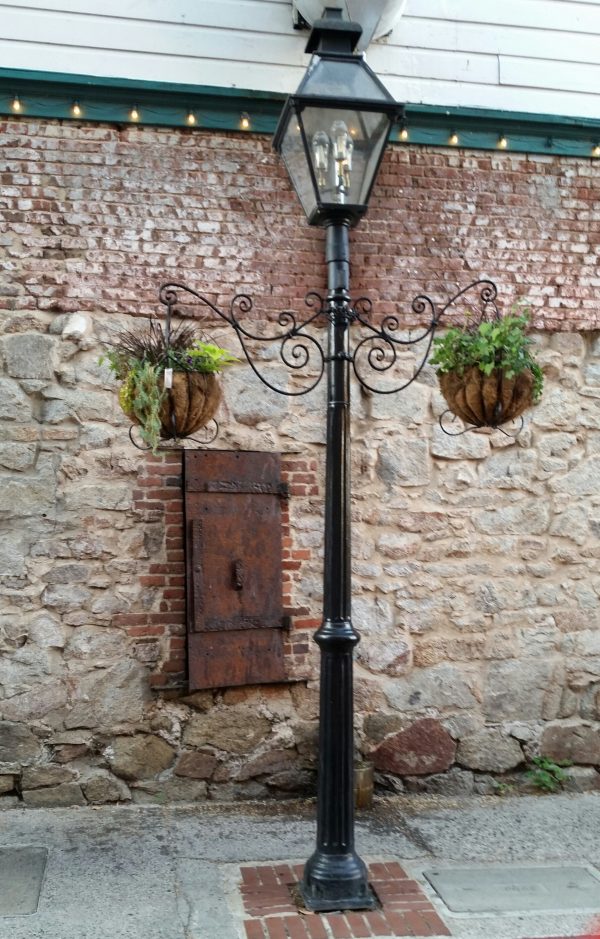
Are they just beautiful vintage decorative doors or are they something more? Do you ever find yourself walking along the streets of old historic towns looking at the beautiful old buildings? There is something mysterious, yet magical about the intricate architecture, the old patina iron work, the aged brick, the weathered wood, and the broken plaster left behind as a reminder of time passing. I have always been fascinated with…
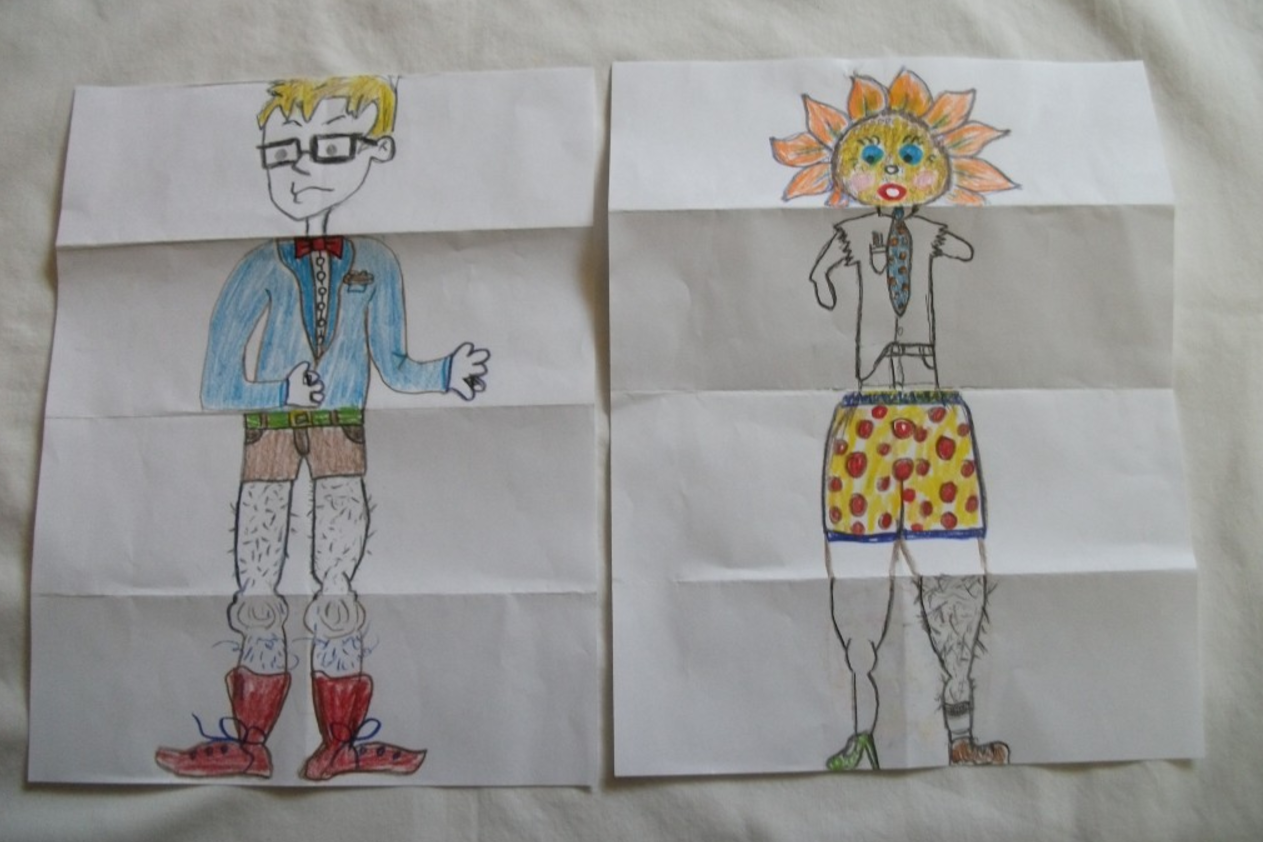
Try this drawing game with your children as way to practice creativity, interact with others, and have fun while filling up some free time. This is a fun interactive game for the whole family. Using Your Imagination Have you ever had those days when the kids are running around going crazy because they are cooped up in the house and bored out of their mind? Maybe you are on a…
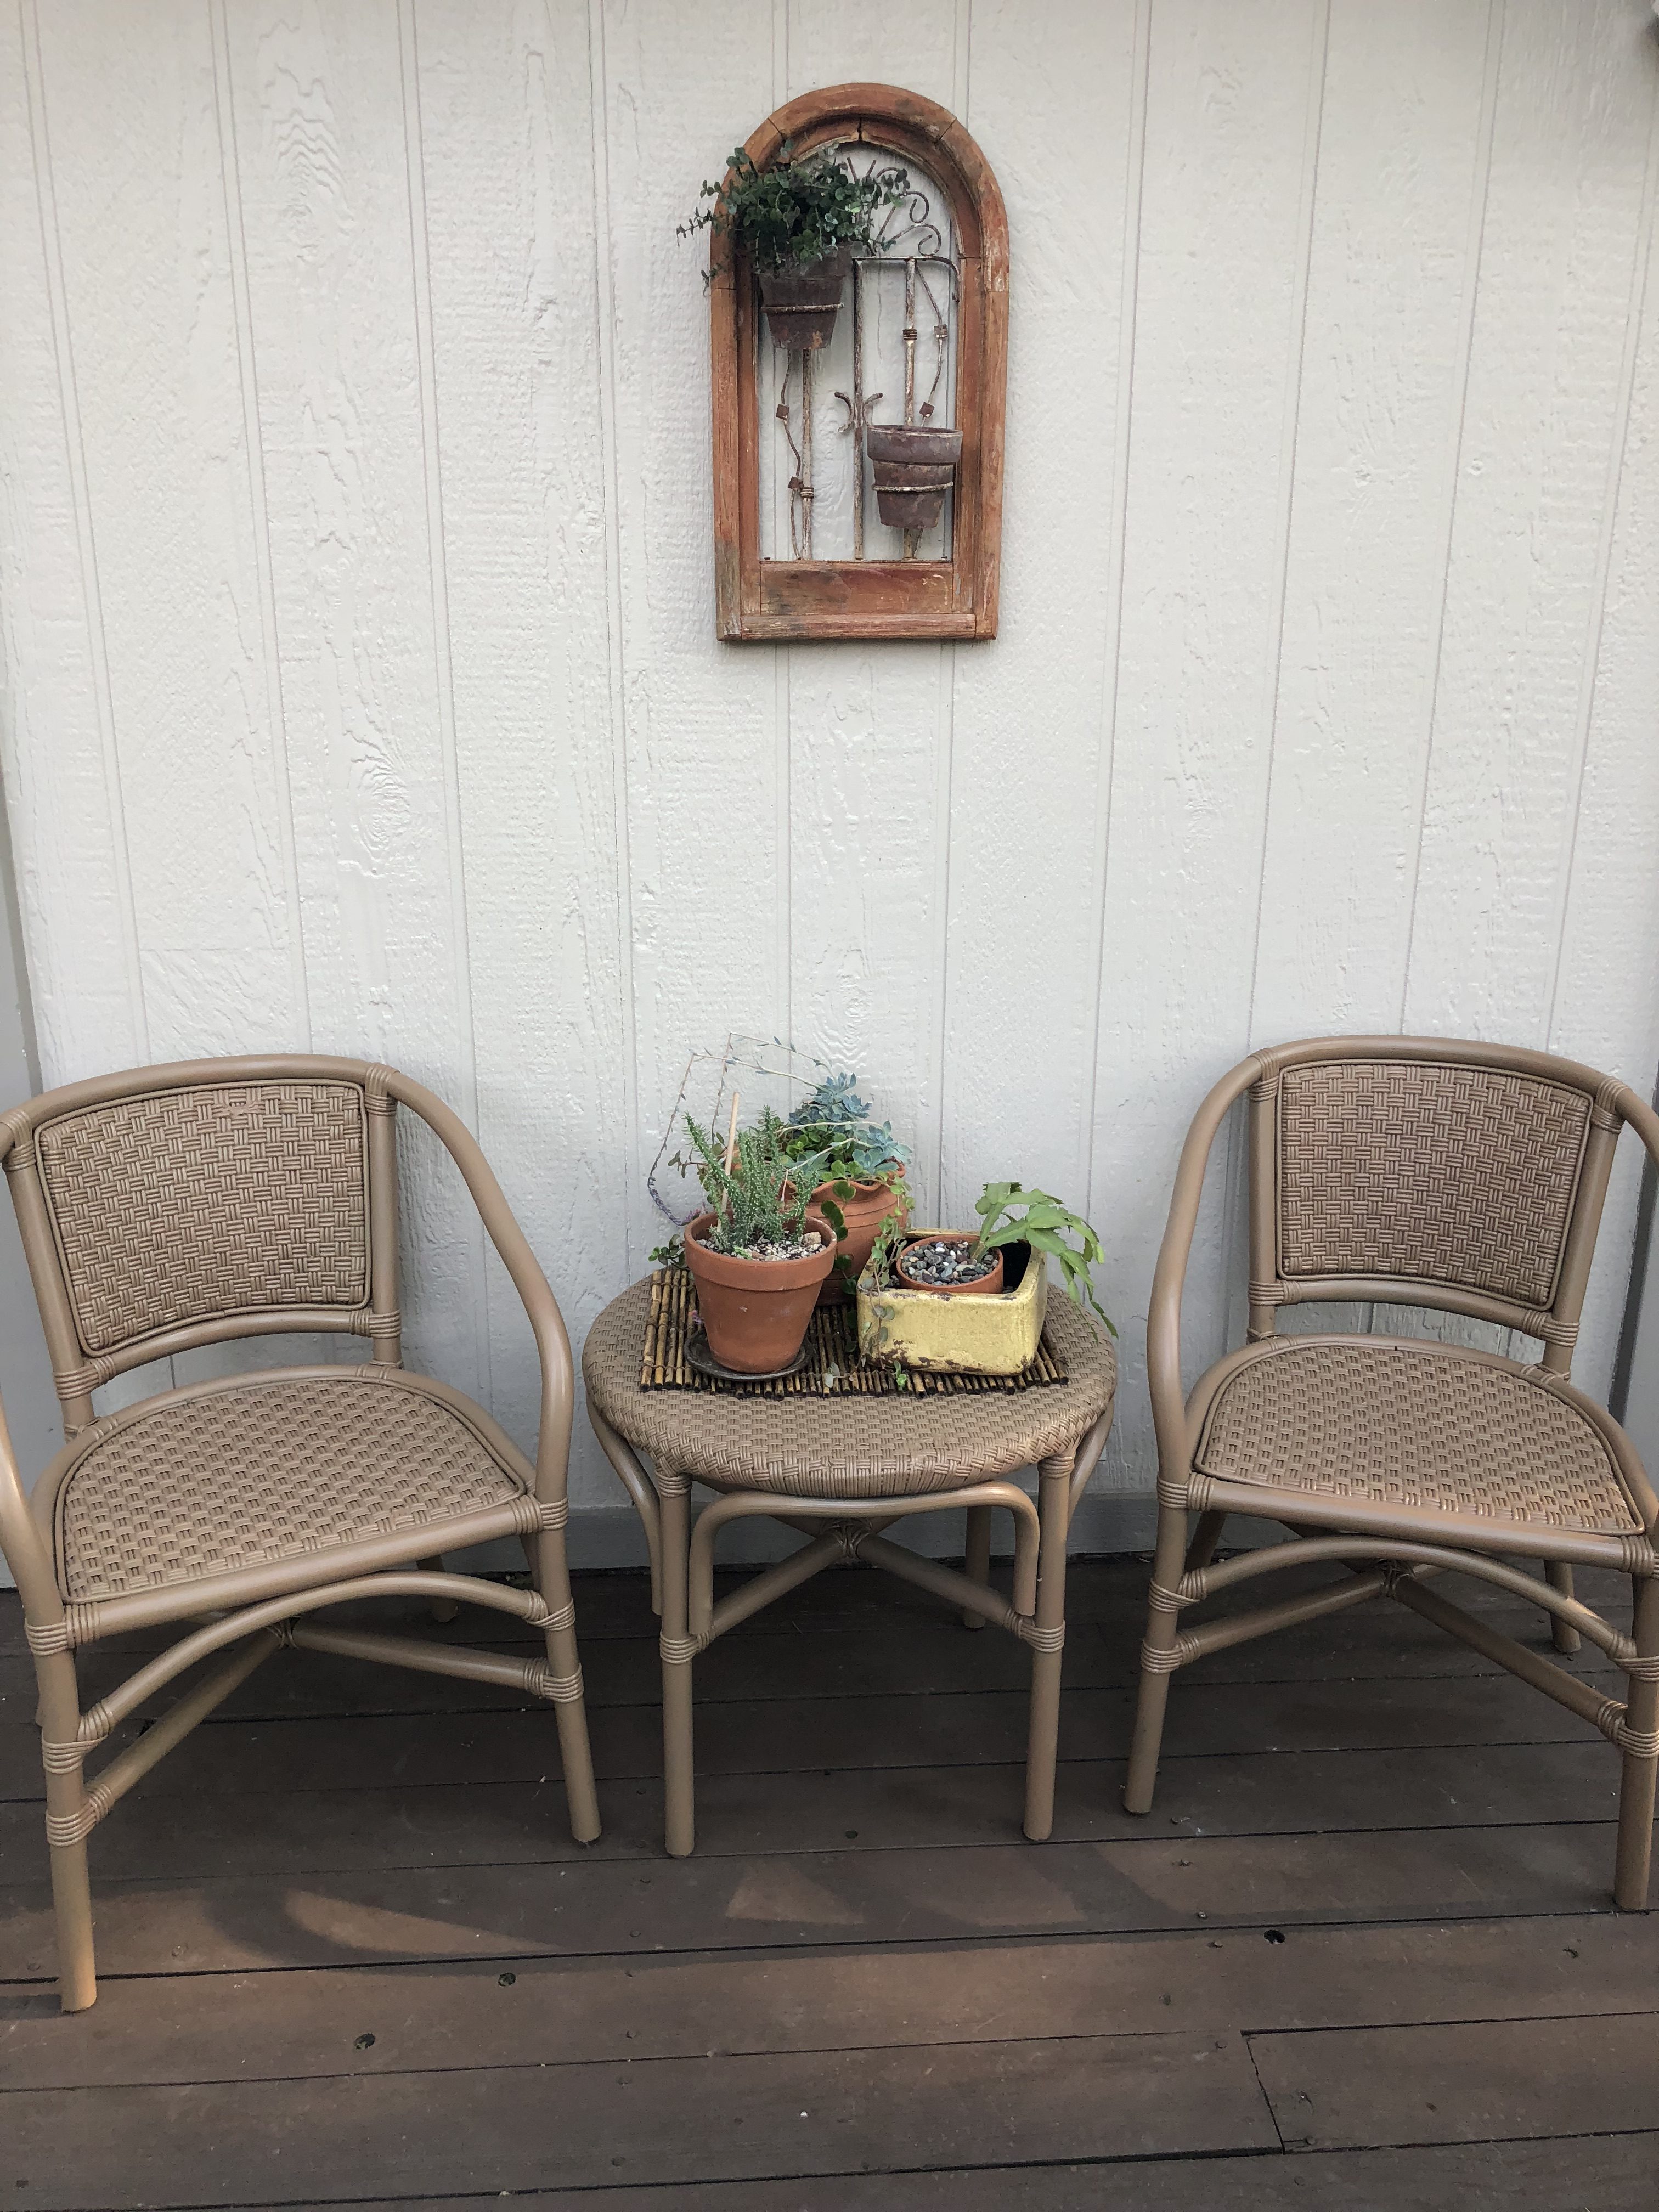
Spray Painting Plastic Patio Furniture I have been wondering about spray painting plastic patio furniture for quite a while, but wasn’t sure how it would look. I have this plastic Bamboo Wicker style patio furniture that has been around for the past 17 years. It has been through four moves and sat out in the rainy, hot, and cold weather for every one of those years. I have…
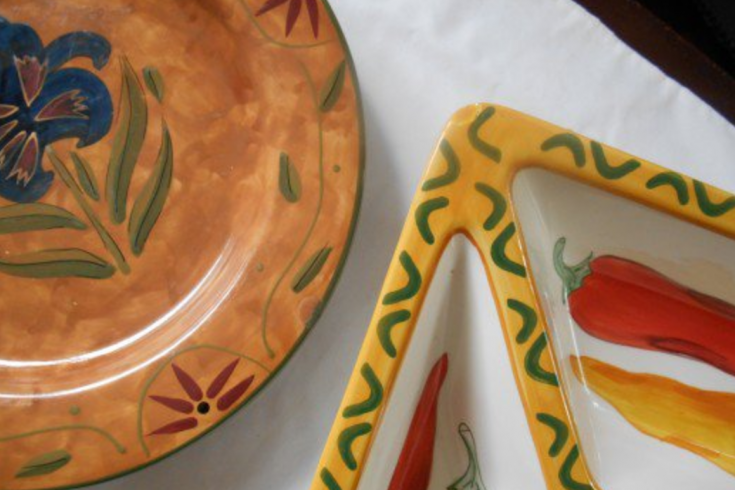
Ceramic to be repaired Learn how to repair chipped ceramic and serving dishes so you won’t have to spend the extra money to replace them. If you have a good sense of color mixing, this will be a great project for you.
What Should You Do With Chipped Ceramic?
Do you have any chipped ceramic and plates lingering in your cupboard? Are they tucked away in one of those boxes you have been toting around for the last decade? Don’t throw them away. Whether it is a family heirloom, an expensive piece of china, a favorite ceramic plate, or one of a eight piece dinner set, you may be able to repair them. It is disappointing to spend all that money on just the right dinner set for your home, just to have your children beat them up while loading the dishwasher. I had three teen ages boys living at home and a cupboard full of chipped dishes because I was thinking I was teaching them some life lessons with clean up work. Unfortunately, I neglected to mention the one about handling things with care.

Repair Chipped Ceramic That Makes Sense
Among the dishes that get chipped along the way. some of them can be repaired. Here is a simple solution that can hide some of the damage.If there is a chip on the inside center of a dish or on the rim of a drinking cup, it wouldn’t be a good candidate for repair.

You have to consider the direct contact with the mouth, food, and the extra daily wear of the dish being repaired. However, most chips on plates are found on the outside edges and underneath the rim of a dish. The two part epoxy used for the project is waterproof, but I wouldn’t recommend using it in areas where there is direct contact with food.
In addition, the creative person who loves learning new techniques, this is a great Do-it-yourself project. If you have a good sense of mixing colors to get a good color match for the dish you are repairing, you can make the repair undetectable.
Before you get started, gather all of the plates, dishes, and cups you want to repair and put them aside. Then put them together based on the similar colors that you will be using. It will save a little time while mixing up colors for each dish. You may also want to put them in order of easiest to most difficult. That way you can get the easiest ones out of the way.

Supplies and Tools
You will need the following items:
- 2 part epoxy (approx. $5.00 at any hardware store) There are a variety of different epoxy mixes. I used Devcon Home 2 ton epoxy. Pick the one that gives you the most working time
- artist oil pastels (I paid $4.95 at Ben Franklin’s) Make sure it is an oil based pastel.
- toothpicks
- flat tray for mixing
- razor blade
- paper bag or drop cloth
Getting Set Up

I prefer to use cheap disposable lids, paper bags, or newspaper to save money and for easy clean up. Place a paper bag or drop cloth to cover your work surface. When mixing your colors, the nice thing about using a clear lid is that it makes it easier to see the purity of the colors themselves. Use a sharp blade or knife of some sort to scrape off small bits of color to be mixed together. The finer the scrapings the easier it is to mix. A little bit goes a long way.
Mixing it Up

Once you have your colors on your palate, put a dab of the epoxy in the center of the palate. Mix the epoxy together thoroughly. Add a little bit at a time to each color mixture. Blend colors together making sure pastel oils are blended smoothly without any particles left. Apply a small amount of the mixed color to the chipped area. Blend into the edges making sure there is no overlapping. Keep the epoxy mixture flat so it is level once it is dry.
Steps for Mixing
- Cover work surface
- Place dishes in order to be repaired
- Scrape colors onto a mixing tray (plastic lid in example)
- Open epoxy and squeeze equal parts on middle of tray and together thoroughly
- Put small dabs of epoxy on each color being mixed. Mix one color at a time using separate toothpicks for each mixture. Epoxy has about a 5-10 minute working time before it sets up. It starts to harden and becomes more difficult to work with it.
- Apply color to chipped area. Some chips are deeper and will need a second application. If so, allow each coat to dry before applying addition coat.
- Although the epoxy dries in 10 minutes, allow it to harden (cure) overnight.
- If it is still tacky to the touch after several hours, it is because the equal parts of epoxy were not mixed thoroughly. The process will have to be re-applied.

Making Adjustments
Not all of the repairs will come out as well as others, however, you can correct some of the repairs.
- Some colors need remixing to get a better match
- Epoxy needs to be remixed because in hasn’t dried completely
- Epoxy gets on other areas and be sticky due to handling. Dab a cotton ball with nail polish remover and clean any messy areas off of the dish.
Watch this video by Robert Jackson that demonstrates “How to Repair Chipped China”.
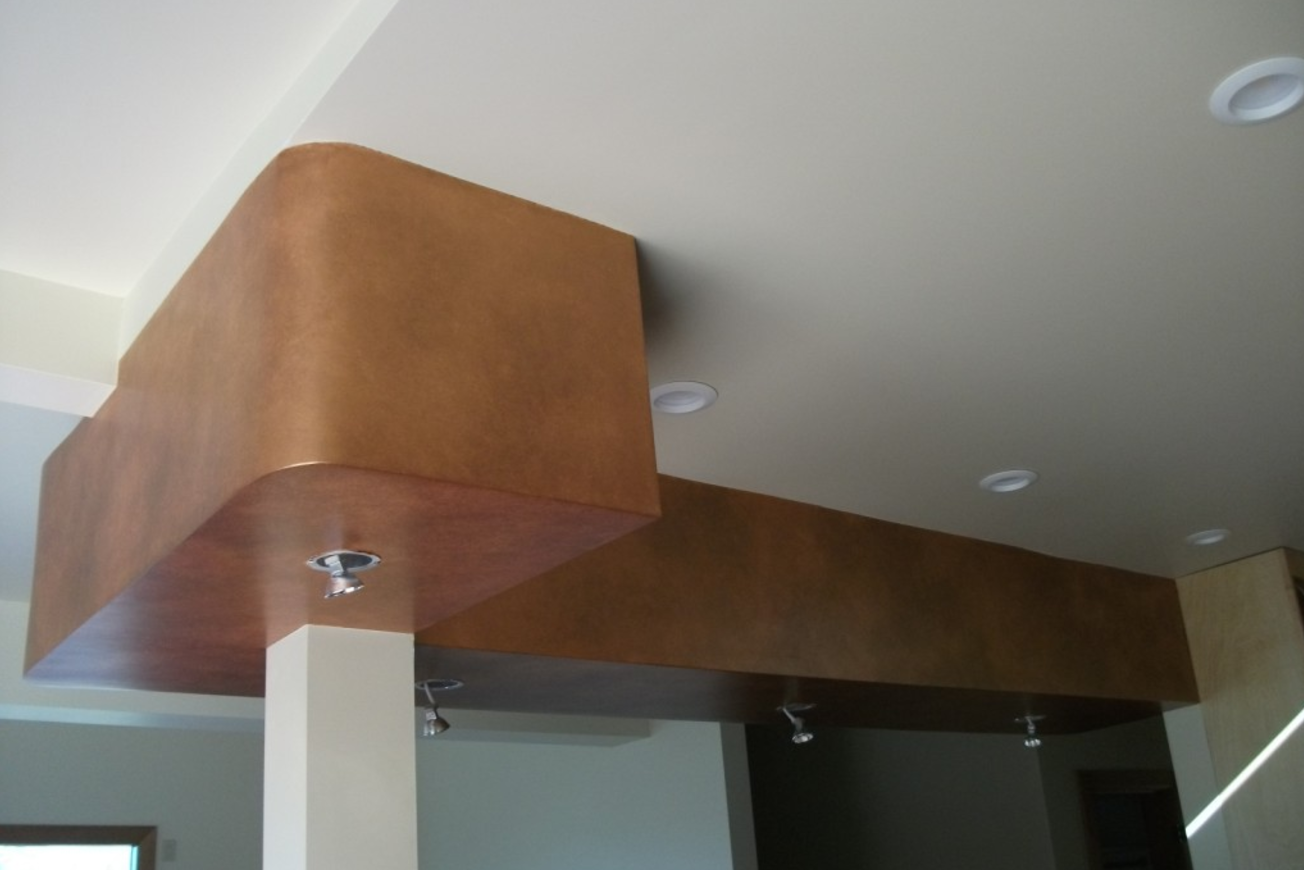
A copper metallic paint can be used to create some beautiful decorating projects if it is applied correctly and in subtle ways. I like to use them to make some of my home accessories stand out and give them a little added touch of interest.
Project Ideas
Metallic paints can be used to create some beautiful decorating projects if they are applied correctly and in subtle ways. I like to use them to make some of my home accessories stand out and give them a little added touch of interest. Whether I have an old lamp, candle holders, mirrors, walls or cabinets, a little metallic paint is an inexpensive way to create a new look.
See this technique:
If you like the look of copper for your home interior, I can show you this inexpensive way for creating copper metallic paint finishes. It has a rich, lustrous look that would also look great as part of a stove hood, a bar top, or the inside panel of a shaker style or flat panel door.
Preparing The Project
The first thing you need to do before applying your metallic paint, is to prepare the surface. Make sure you clean any dirt and oil marks from surface to prevent them from trying to bleed throw your finished painting project. If you are painting a metal or plastic surface you need to use primer that can be used on metal and plastic so the paint will adhere to the surface better. For home accessories, I prefer to use spray primer and base paints. When applying metallic to walls, remove all imperfections, such as, scratches, dents, and gouges. Your surface should be as smooth as possible. Metallic paint will show everything.
Applying the Metallic Paint

When choosing a base color for your project, remember that the darker the base color the deeper the end color will be. For this project, I used a white base color. The metallic paint was applied in two layers with two different shades of copper. I used a light orange copper and a dark red copper. Apply the first layer using only the light copper. Let dry overnight to make sure it is completely dry.
Never try to go back over your wet paint. It will cause paint to lift up and create “bald ” spots in your work. You will never be able to fix it unless you paint over it and start over. Take a crumpled up dry t-shirt rag and dip it into your paint. Apply paint by blotting and patting it onto the surface so it creates a uniform textured appearance. I prefer rags rather than sponges because I have better control over the paint and I think it looks much better. Apply the paint as quickly as possible. The randomly with the light copper. Use a 2 part light copper to 1 part dark copper ratio. Make sure you blend colors together so it doesn’t look blotchy. Let finish dry for 1 week before applying a clear finish to seal the surface. I use a water-base satin Polyurethane. Satin will not be as shiny as semi-gloss or high gloss, but any sheer will look good. It is just a matter of preference.
If you don’t like a copper finish, you could create a silver, pewter, chrome, gold or bronze look. What ever you decide, it doesn’t need to be over-the-top to look good. Don’t try to over think it when painting. Try to limit color contrasts to create a more elegant subtle finish.