
Repurposing an old dresser can be a creative and satisfying way to give it a new life. Whether it has sentimental value or your just can’t get anyone to take it off your hands, it has other potential uses. Here are ten ideas for transforming a dresser into something new and useful: 1. Entertainment Center: Remove the top drawers for space to place a cable box, DVD player…
Creating a bottle cap art mosaic tabletop was on my art project bucket list until recently. With all of the new craft beers coming to the market, there are so many bright colors, whimsical logos, and creative lettering. Beer and soda companies take that extra step to remind you to be a loyal follower of their brand. Before tossing that cap away, look at the creative message shouting, “Remember me…
Most home owners will find themselves with leftover paint they have used from a variety of projects. So what can you do with all that paint besides storing it for the next decade? Here are some simple ways to get rid of leftover paint that I have used in the past. Try these simple suggestions 1. Reuse your paint for other home projects. It is amazing how far a little…
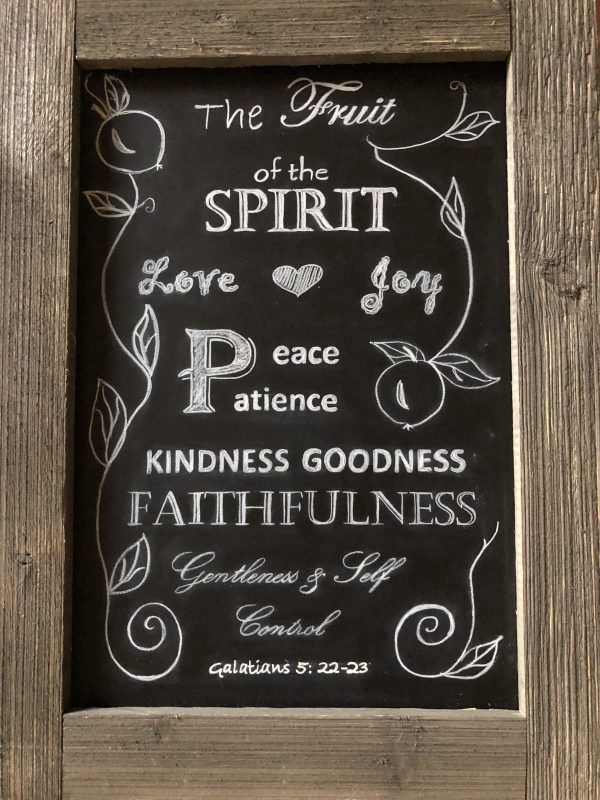
Do you want to make a chalkboard with cute phrases, motivational or inspirational messages to add a nice warm and welcoming touch to an environment? It is a popular way to market menus at cozy gathering places like small bistro’s, cafes, and coffee shops. It is also an inviting, eye-catching way to make a statement for your home. I have been wanting to create some inspirational messages…
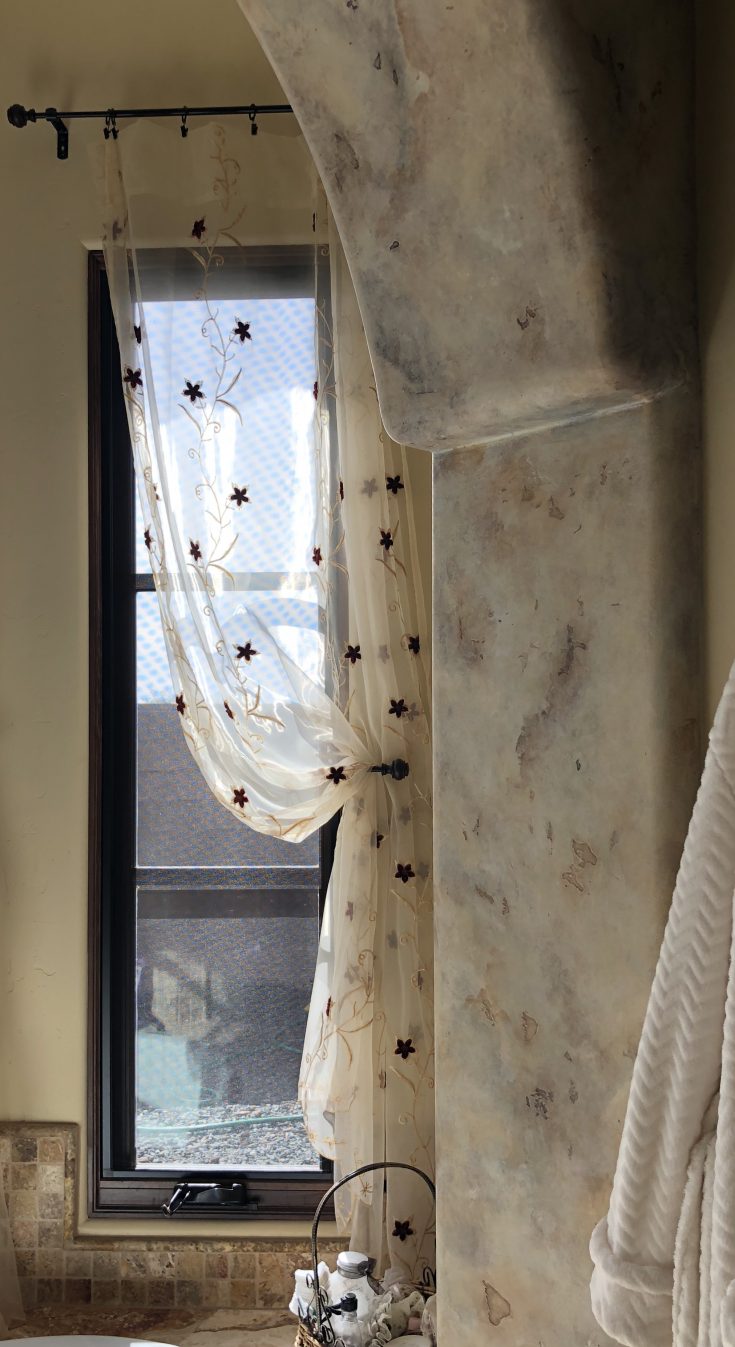
Faux Paint Stone Finishes If you have ever wanted to know how to faux paint stone finishes, but your not sure how, I will give you some basic steps to get you started. Specialty faux finishes have been around for centuries, but are sometimes subtle. Other times they are used to create dramatic effects. They are applied to walls, furniture, light fixtures, even in set designs. Particularly, Faux painting techniques…
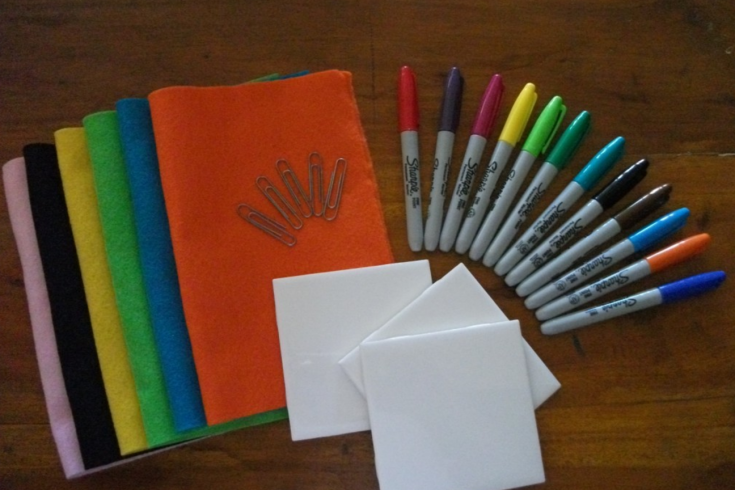
Create your own ceramic tile art piece using permanent markers. They make great gifts for loved ones they can cherish forever. Creating a Little Masterpiece This tile art project is guaranteed to wow both children and adults alike. If you have ever had a birthday party or family get together with lots of kids around you have probably thought, “I wish I had something to keep them busy and…