
A copper metallic paint can be used to create some beautiful decorating projects if it is applied correctly and in subtle ways. I like to use them to make some of my home accessories stand out and give them a little added touch of interest.
Project Ideas
Metallic paints can be used to create some beautiful decorating projects if they are applied correctly and in subtle ways. I like to use them to make some of my home accessories stand out and give them a little added touch of interest. Whether I have an old lamp, candle holders, mirrors, walls or cabinets, a little metallic paint is an inexpensive way to create a new look.
See this technique:
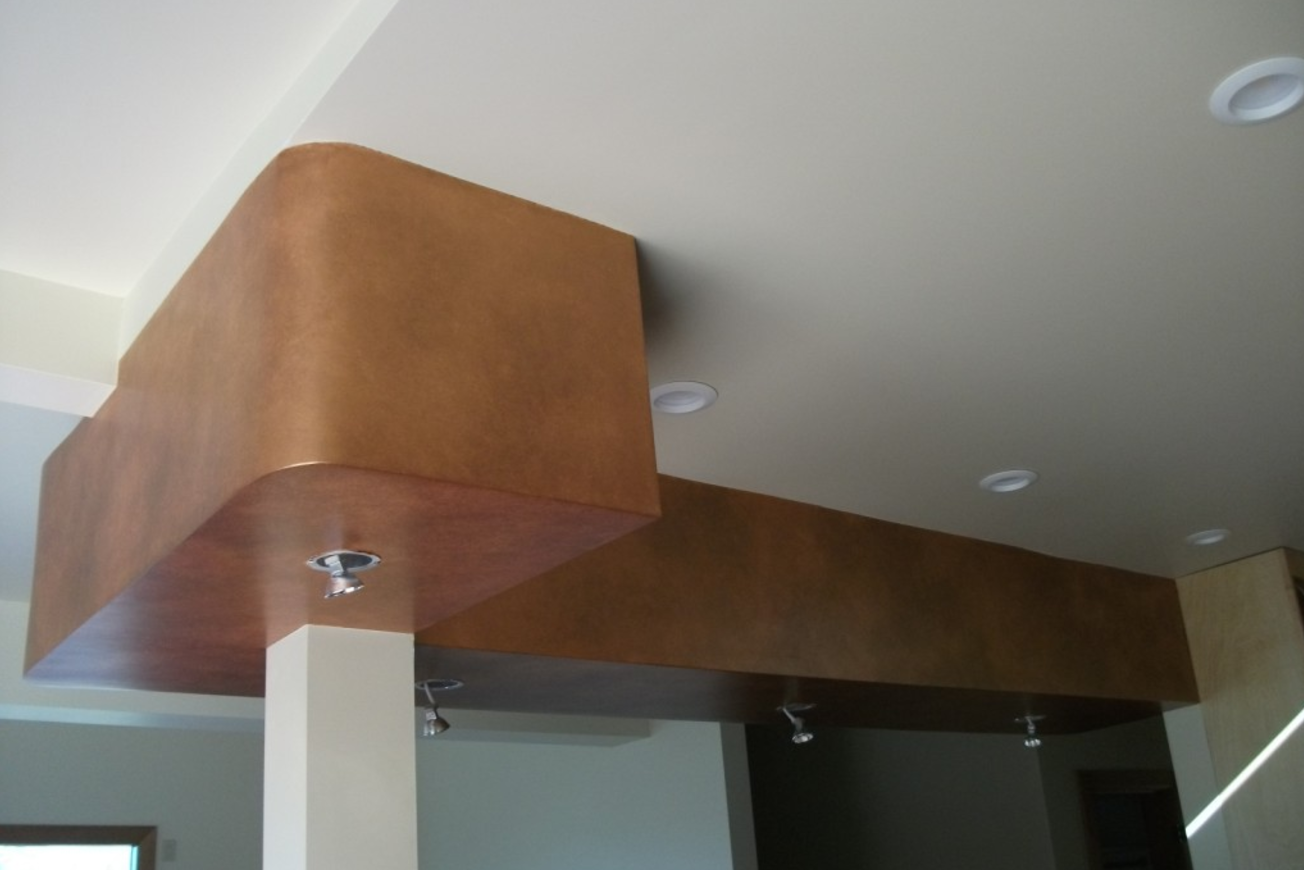
If you like the look of copper for your home interior, I can show you this inexpensive way for creating copper metallic paint finishes. It has a rich, lustrous look that would also look great as part of a stove hood, a bar top, or the inside panel of a shaker style or flat panel door.
Preparing The Project
The first thing you need to do before applying your metallic paint, is to prepare the surface. Make sure you clean any dirt and oil marks from surface to prevent them from trying to bleed throw your finished painting project. If you are painting a metal or plastic surface you need to use primer that can be used on metal and plastic so the paint will adhere to the surface better. For home accessories, I prefer to use spray primer and base paints. When applying metallic to walls, remove all imperfections, such as, scratches, dents, and gouges. Your surface should be as smooth as possible. Metallic paint will show everything.
Applying the Metallic Paint

When choosing a base color for your project, remember that the darker the base color the deeper the end color will be. For this project, I used a white base color. The metallic paint was applied in two layers with two different shades of copper. I used a light orange copper and a dark red copper. Apply the first layer using only the light copper. Let dry overnight to make sure it is completely dry.
Never try to go back over your wet paint. It will cause paint to lift up and create “bald ” spots in your work. You will never be able to fix it unless you paint over it and start over. Take a crumpled up dry t-shirt rag and dip it into your paint. Apply paint by blotting and patting it onto the surface so it creates a uniform textured appearance. I prefer rags rather than sponges because I have better control over the paint and I think it looks much better. Apply the paint as quickly as possible. The randomly with the light copper. Use a 2 part light copper to 1 part dark copper ratio. Make sure you blend colors together so it doesn’t look blotchy. Let finish dry for 1 week before applying a clear finish to seal the surface. I use a water-base satin Polyurethane. Satin will not be as shiny as semi-gloss or high gloss, but any sheer will look good. It is just a matter of preference.
If you don’t like a copper finish, you could create a silver, pewter, chrome, gold or bronze look. What ever you decide, it doesn’t need to be over-the-top to look good. Don’t try to over think it when painting. Try to limit color contrasts to create a more elegant subtle finish.