
How to Repair Chipped Ceramic and Tableware
Ceramic to be repaired Learn how to repair chipped ceramic and serving dishes so you won’t have to spend the extra money to replace them. If you have a good sense of color mixing, this will be a great project for you.
What Should You Do With Chipped Ceramic?
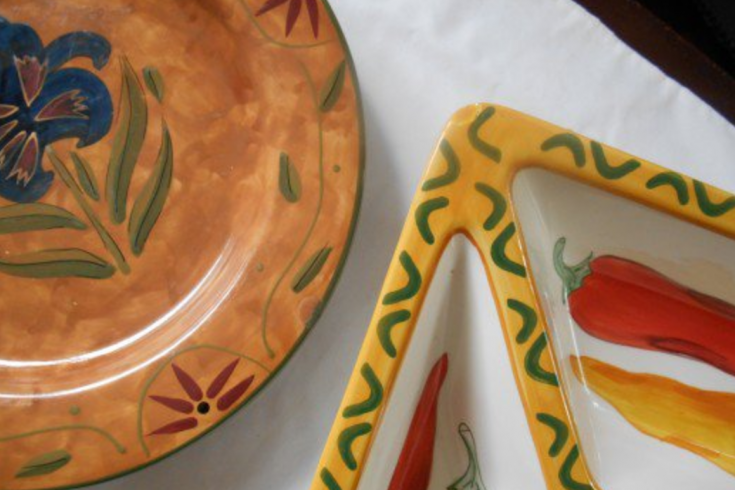
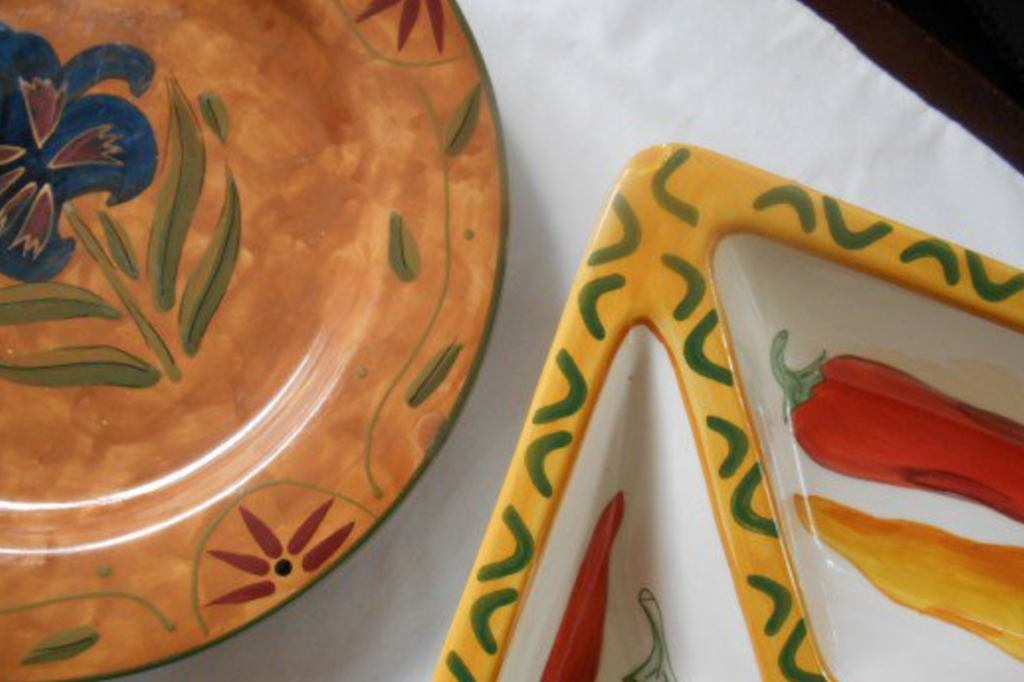
Do you have any chipped ceramic and plates lingering in your cupboard? Are they tucked away in one of those boxes you have been toting around for the last decade? Don’t throw them away. Whether it is a family heirloom, an expensive piece of china, a favorite ceramic plate, or one of a eight piece dinner set, you may be able to repair them. It is disappointing to spend all that money on just the right dinner set for your home, just to have your children beat them up while loading the dishwasher. I had three teen ages boys living at home and a cupboard full of chipped dishes because I was thinking I was teaching them some life lessons with clean up work. Unfortunately, I neglected to mention the one about handling things with care.
Repair Chipped Ceramic That Makes Sense
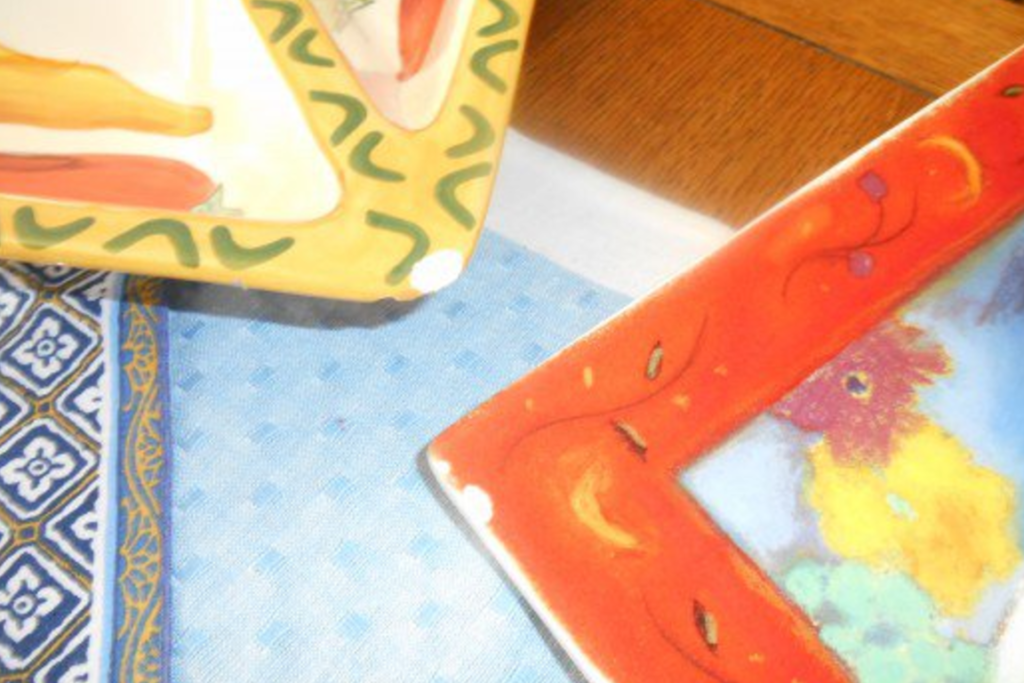
Among the dishes that get chipped along the way. some of them can be repaired. Here is a simple solution that can hide some of the damage.If there is a chip on the inside center of a dish or on the rim of a drinking cup, it wouldn’t be a good candidate for repair.
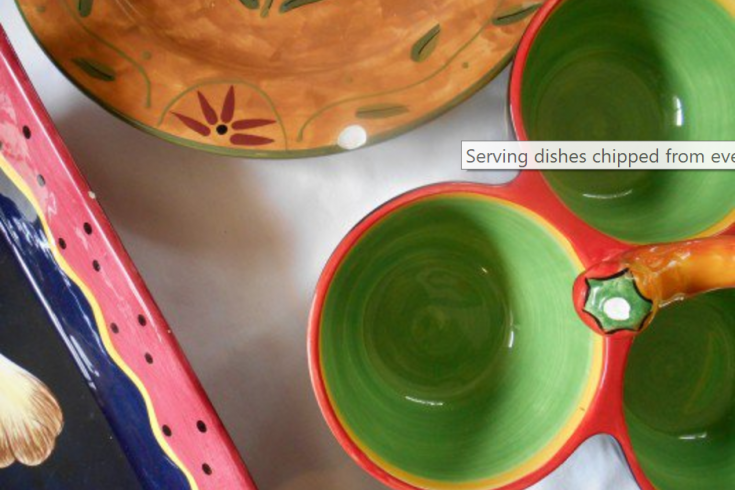
You have to consider the direct contact with the mouth, food, and the extra daily wear of the dish being repaired. However, most chips on plates are found on the outside edges and underneath the rim of a dish. The two part epoxy used for the project is waterproof, but I wouldn’t recommend using it in areas where there is direct contact with food.
In addition, the creative person who loves learning new techniques, this is a great Do-it-yourself project. If you have a good sense of mixing colors to get a good color match for the dish you are repairing, you can make the repair undetectable.
Before you get started, gather all of the plates, dishes, and cups you want to repair and put them aside. Then put them together based on the similar colors that you will be using. It will save a little time while mixing up colors for each dish. You may also want to put them in order of easiest to most difficult. That way you can get the easiest ones out of the way.
Supplies and Tools
You will need the following items:
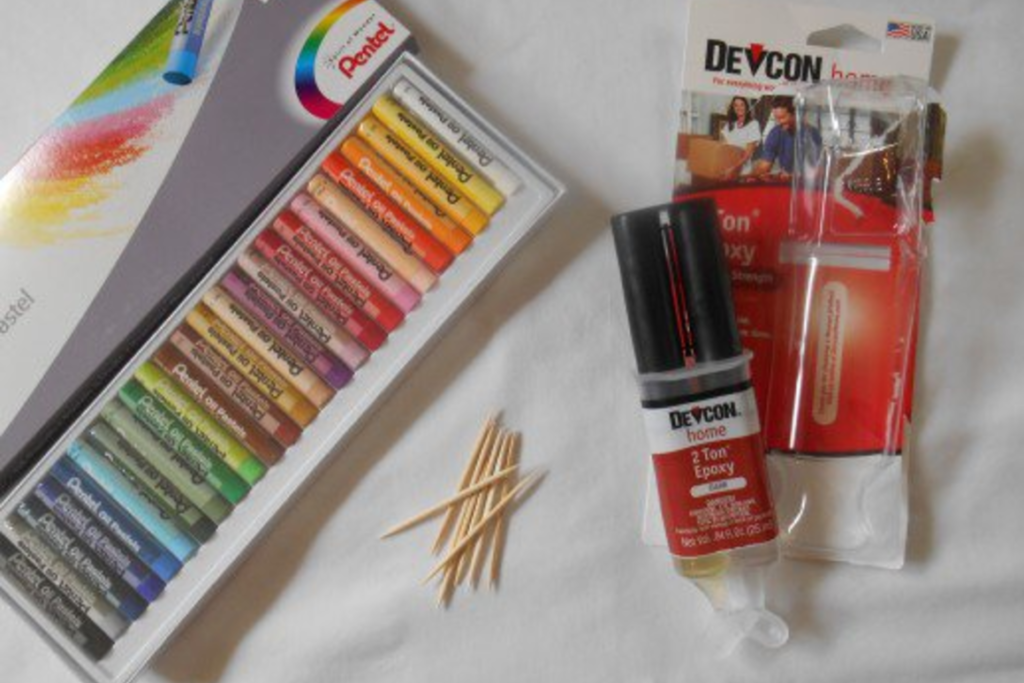
- 2 part epoxy (approx. $5.00 at any hardware store) There are a variety of different epoxy mixes. I used Devcon Home 2 ton epoxy. Pick the one that gives you the most working time
- artist oil pastels (I paid $4.95 at Ben Franklin’s) Make sure it is an oil based pastel.
- toothpicks
- flat tray for mixing
- razor blade
- paper bag or drop cloth
Getting Set Up
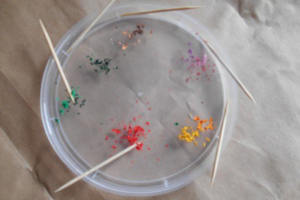
I prefer to use cheap disposable lids, paper bags, or newspaper to save money and for easy clean up. Place a paper bag or drop cloth to cover your work surface. When mixing your colors, the nice thing about using a clear lid is that it makes it easier to see the purity of the colors themselves. Use a sharp blade or knife of some sort to scrape off small bits of color to be mixed together. The finer the scrapings the easier it is to mix. A little bit goes a long way.
Mixing it Up
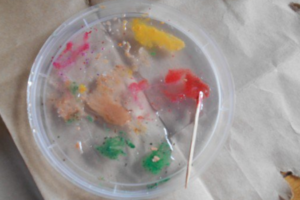
Once you have your colors on your palate, put a dab of the epoxy in the center of the palate. Mix the epoxy together thoroughly. Add a little bit at a time to each color mixture. Blend colors together making sure pastel oils are blended smoothly without any particles left. Apply a small amount of the mixed color to the chipped area. Blend into the edges making sure there is no overlapping. Keep the epoxy mixture flat so it is level once it is dry.
Steps for Mixing
- Cover work surface
- Place dishes in order to be repaired
- Scrape colors onto a mixing tray (plastic lid in example)
- Open epoxy and squeeze equal parts on middle of tray and together thoroughly
- Put small dabs of epoxy on each color being mixed. Mix one color at a time using separate toothpicks for each mixture. Epoxy has about a 5-10 minute working time before it sets up. It starts to harden and becomes more difficult to work with it.
- Apply color to chipped area. Some chips are deeper and will need a second application. If so, allow each coat to dry before applying addition coat.
- Although the epoxy dries in 10 minutes, allow it to harden (cure) overnight.
- If it is still tacky to the touch after several hours, it is because the equal parts of epoxy were not mixed thoroughly. The process will have to be re-applied.
Making Adjustments
Not all of the repairs will come out as well as others, however, you can correct some of the repairs.
- Some colors need remixing to get a better match
- Epoxy needs to be remixed because in hasn’t dried completely
- Epoxy gets on other areas and be sticky due to handling. Dab a cotton ball with nail polish remover and clean any messy areas off of the dish.
Watch this video by Robert Jackson that demonstrates “How to Repair Chipped China”.
Tyler Johnson | 1st Jul 19
That’s good to know that you could glue plates back together with some epoxy. I would think that would be a good way to make sure that you could have the whole set still if you drop one. I’ll have to remember that if I decide to get some porcelain plates.
Rebecca | 6th Jan 20
This information was incredibly helpful!! We used your instructions to repair several areas of chipped glaze and a minor missing piece on a set of ceramic nativity figures that were made by my grandmother’s good friend many decades ago. I wish that I had thought to take “before and after” pictures; however, I can share that the process worked very well. If someone did not know where the damage had been, the repairs would be very hard to spot… Thank you very much for your help!