
How to Repair Damaged Wood Dressers

If you are planning on refinishing a damaged wood dresser, here are a few simple techniques to help bring some new life into it.
What a Deal!
I am always looking for good deals and ways to save money. Stretching a dollar is not only a way of life for me, it is an exciting challenge and adventure.
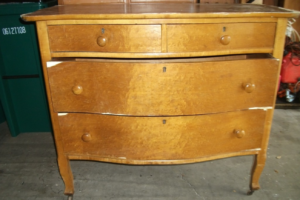
Recently, I thought I would try my hand in buying storage lockers. I think I have the knack for it. One day, when the last locker door opened, the crowd of treasure-seekers peered into the room in hopes of finding a valuable item they could sell off for some quick cash. This locker contained a mattress box spring, an old painted bookcase turned away from the door, several trash bags and boxes containing mystery items, and this damaged wood dresser sitting front and center. Most of the crowd saw only trash and the undesirable chipped, scratched, and stained dresser.
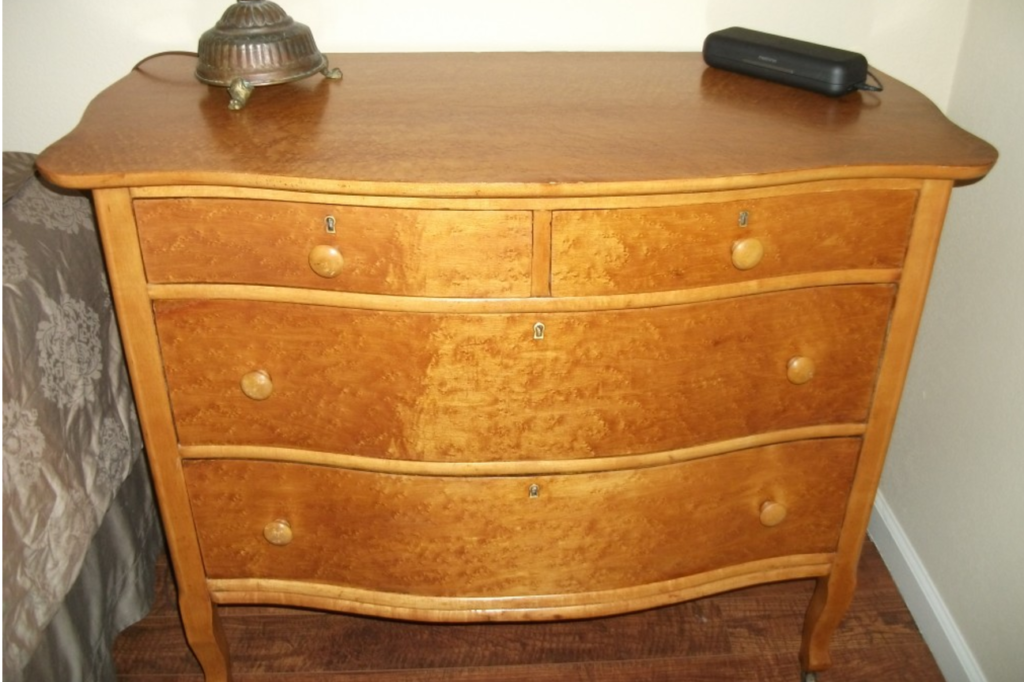
But my eyes fixated on the beautiful birdseye maple veneer and simple but elegant lines of this shabby piece of furniture. Immediately, I saw potential. The auctioneer started the bid at $5. Then $10, followed by a long pause. Finally a taker, followed by an even longer pause. I knew then the next bid was mine to secure. He called out, “Do I have $20?”
“Yes!” I won the bid!
How to Repair Damaged Wood Dressers
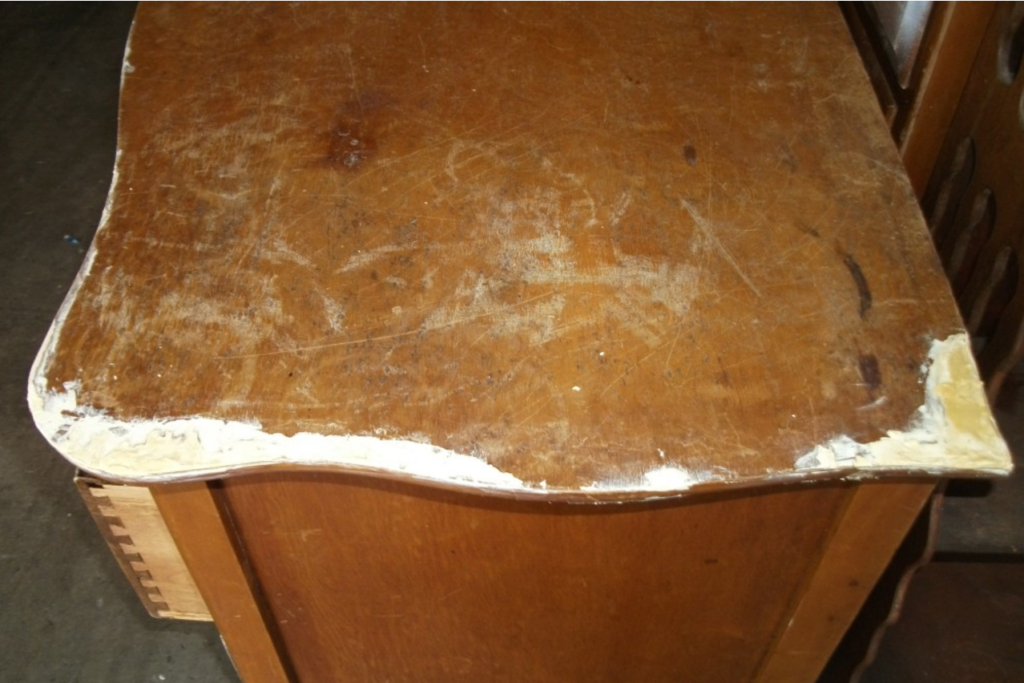
The condition of the dresser was not ideal, but with a little work, skill, and the proper materials, I created a beautiful treasure.
If I wanted to restore it to perfect condition, I would have had to replace the veneer, but I like the imperfections in the wood and the distress of age which give it character. Once you put a quality finish on it, you don’t see the flaws. Since I have been in the business of restoring and repainting furniture, I had an endless supply of finishing products.
Supplies and Materials
- screwdriver
- drop cloth
- rags
- gloves
- 2 paint brushes (one for applying stripper, and one for applying clear finish)
- putty knife for applying wood filler and removing stripper
- 220 grit sandpaper
- Jasco stripper
- Elmer’s carpenters wood filler or Durham’s rock hard water putty
- oil base stain of choice
- Minwax fast-drying polyurethane
Preparing the Wood
- First remove the hardware and set it aside in a safe place. Or you can replace the handles later.
- Put on heavy rubber latex or blue nitrile Remove the old finish with furniture stripper. I prefer Jasco since it has worked best for me. Follow manufacture instructions.
- After applying and removing several coats of finish, sand any remaining finish off with 220 grit sandpaper.
- Fill all cracks and chips with Elmer’s carpenter wood filler or Durham’s rock hard water putty and let dry completely. (I used Durham’s because it works well for my faux painting touches.)
- Sand smooth with 220 sandpaper.
- Since I am a faux finisher, I used some creative tricks to paint sections of faux birdseye maple to hide repairs.
- Apply stain of choice with rags. I used a used a mix of golden pecan, Ipswich pine, and natural Minwax stains to get my desired color. By adding the Ipswich pine (which has a green undertone) to the golden pecan (with its orange undertone), I neutralized the color somewhat. Hint: When mixing colors, if you have too much of one color, add a little color from the opposite side of the color wheel. For instance, if a color is too red, add a little green.
- Let dry 24 hours.
- Apply three coats of Minwax fast-drying clear satin polyurethane. I prefer a satin for a nice furniture-grade finish. When applying the clear coat, a good quality brush like the Purdy brand works well and lays the finish on nicely.
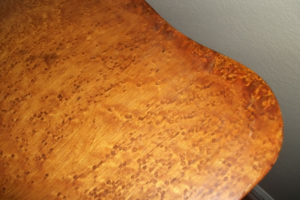
Finished Product
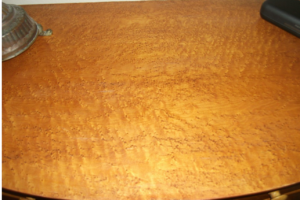
The areas that I painted may be a little darker than the natural wood, but the end result isn’t too bad. Depending on where you put the dresser, you may not even notice any flaws or imperfections. The corner of a room, the lighting, and items placed on the top of the dresser will hide imperfections you don’t want to stand out.
In the show Storage Wars, they never show you what they do with all the other undesirable items found in their locker purchases. The end result of my less-than-perfect treasure turned out to be a great buy for my storage locker purchase. Besides, I needed a good dresser.
Oh, in case you are wondering, it wasn’t the only treasure I found that day. I did well!
About The Author
Jennifer Thibodeaux
Related Posts

How to Spray Paint Wood Furniture
Do you have an old dresser, or other wood furniture you want to paint and…
February 3, 2019
Leave A Comment